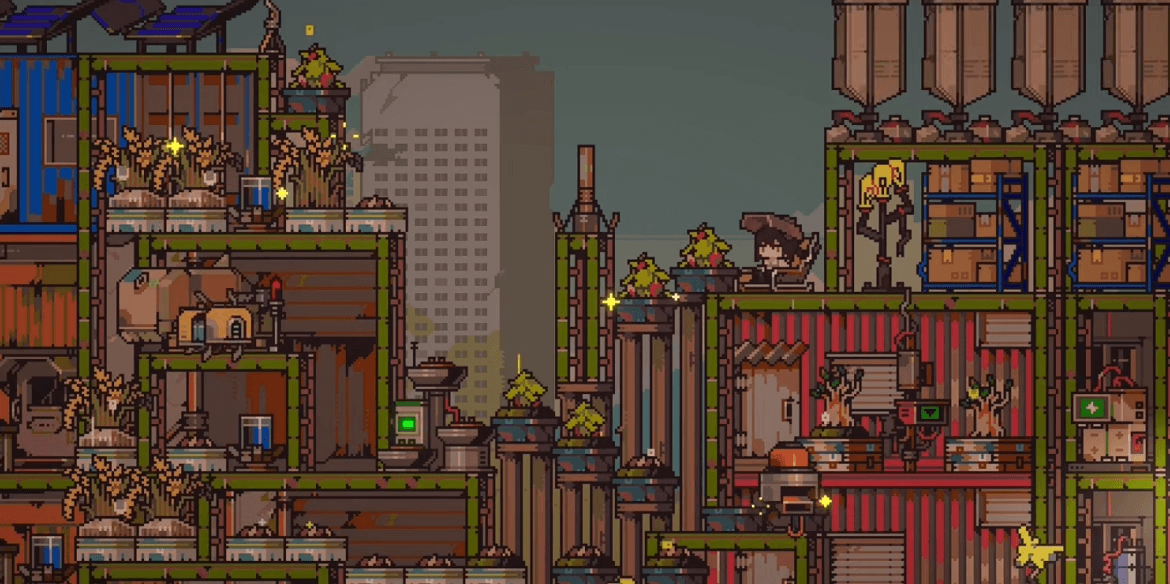
Doloc Town Farm Layout Guide
An efficient farm layout uses clear zones, smoother paths, vertical building, and room for automation as your farm expands.
Fast answer: build your farm in stages
Plan around early-, mid-, and late-game space, vertical building, production zones, and future drone routes instead of relying on one fixed blueprint.
- Separate farming, storage, and crafting zones.
- Use vertical space when it improves density and pathing.
- Leave room for expansion and automation.
Efficient farm layout principles
An efficient farm layout balances vertical building, space efficiency, building placement, production flow, and room for automation.
Plan around your current progression instead of copying one layout for the whole game.
- Separate farming, storage, and crafting zones.
- Leave room for future automation loops.
- Think in stages instead of one permanent blueprint.
- Use vertical planning where it improves density and pathing.
Progression-based farm layout planning
Early farm layouts need room to grow without blocking key paths. Mid game brings stronger zoning needs, while late game adds automation and denser production loops.
Adjust zones and paths as your farm grows instead of treating one blueprint as permanent.
Flexible layout planning
Build around clear zones, smooth flow, and future drone routes, then adjust the space to suit your farm.
- Separate farming, storage, and crafting zones.
- Leave room for expansion and automation.
- Keep exact map details flexible when space is tight.
Exact blueprint examples are still limited.